Search This Blog

Monday, April 16, 2012

My first ribs on the smoker...

I know what you're thinking "Q" fans...first time doing ribs? Well, yes, sorta. I've done ribs on my grill, but this weekend was the first time I did some using the smoker I recently was given. Anywho, I started out with a rack of loin back ribs, St Louis style.

You want to rinse the rack under cold water and pat dry...then it's on to prep.
There's a membrane on the back that you will want to remove. If cooked, it will be tough and not taste good...not to mention it keeps flavors from getting to the meat.

I placed my rack of ribs on a sheet pan and turned them so the membrane was facing up. Slide a knife just under the membrane by the end of the last rib. Once loosened, you can pretty much just pull it off.

 
Now if you're doing this, you're going to want to get your favorite rub. This time, I used a blend I've been working on. Take some oil and give the ribs a light coating, just to get the surface tacky and give the rub something to hold on to. Generously coat the rub all over both sides of the ribs.

I put the rack in the fridge for about an hour or so. You can keep them in longer if you'd like, but an hour is sufficient. Remove the rack from the fridge and let them sit.

While the ribs sit out, I got the smoker up to temp, added my wood (hickory this time) and waited. Once it started smoking, I placed the rack on the top shelf. (I had to cut mine in half in order for them to fit.)

After an hour, I checked the temp and color and everything was looking good. I closed the smoker and checked back another hour later. The ribs were almost at 170 so I grabbed some Original Doomer's "Q" Sauce and gave the ribs a good coating.


While the sauce imparted it's flavor into the ribs, I began to prep the rest of dinner. I started my grill up and grabbed some boneless chicken breasts and hot dogs.


I used some Pirate Johnny's Original Rub for the chicken breasts and finished them with Original Doomer's "Q" Sauce. I served up sides of baked beans, green beans, a summer slaw and broccoli mac & cheese. The family thoroughly enjoyed it and I hope you do too!

As a side note, Pork in the Park 2012 is quickly approaching. It will be our first event of 2012 and we're really excited. If you can make it, the fest is great, BBQ Pitmasters will be there filming season 3 along with lots of great bbq teams, vendors bands and so many fun things to do. It's at Winterplace Park in Salisbury, MD, April 20-22. Hope to see you there.

Just "Q" it!

Thursday, March 8, 2012

Chicken Pot Pie

Oh yes everyone, I got a great, hearty meal for you here. I had some smoked chicken breast left from my last post and wasn't sure how to use it. Then I saw the commercials for a national chicken chain's version of this and knew what I was going to make.

I pulled the chicken breast out of the fridge, and starting gathering the other ingredients. Here's what you need:

1 lb chicken breast, cubed
1 small onion, chopped
1 celery stalk, chopped
1/2 cup sliced carrots
1 1/4 cups water
1/2 t parsley
1/4 t black pepper
1 bay leaf
-
2 T corn starch
2 T water
-
1 egg yolk beaten
1 T milk
1 can cream soup (I used cream of celery)
1 cup shredded cheese (I used cheddar)
1/4 cup sour cream
2 pie crusts (I am not fond of making this so I buy pre-made, but if you're better at making them than I am, a double crust recipe is what you need)

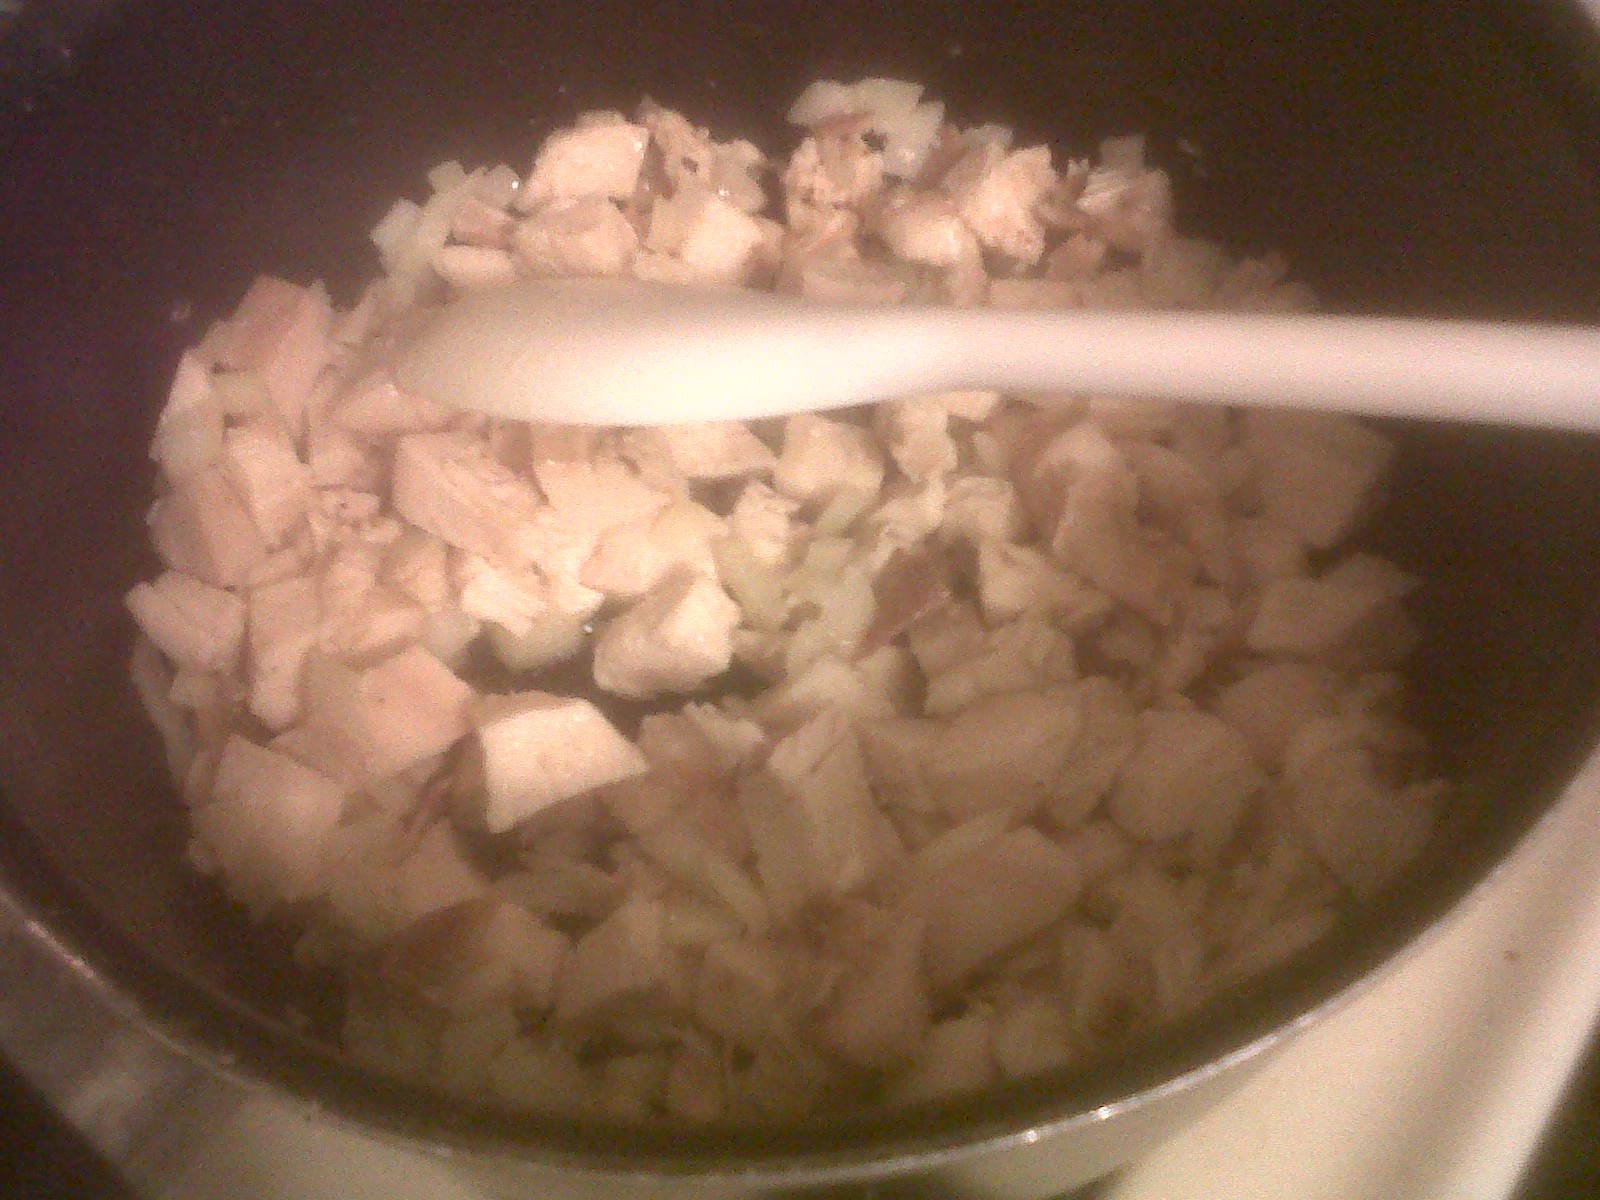
To start out, put the chicken and the onion in a pot and cook on medium heat until the onion begins to soften. The smokey flavor from the chicken breast I used created a great aroma! The kids started coming in the kitchen asking what smelled so good.

Add the celery, carrots, water, parsley, black pepper & bay leaf and bring to a boil. Reduce the heat, cover and simmer for about 15 minutes. In a separate bowl, combine the corn starch and 2 T of water, then add this to the chicken mixture. Bring the mixture to a boil again, stirring often. Once it begins to boil, remove it from the heat. At this point, add the canned soup, cheese and sour cream and mix thoroughly.

Grab a 2 qt casserole dish and line it with the first pie crust and spoon or pour in the chicken mixture. Top with the remaining crust, then crimp and seal the edges. Cut several slits in the top to allow steam to escape.

Add the milk to the beaten egg yolk and brush the top of the crust. Bake at 400 degrees for about 35 minutes. You can line the edges of the crust with foil for the last 10 minutes of cooking to prevent over-browning.

After you take it out of the oven, let it sit a few minutes, then serve. Now, while I was preparing it, I kept thinking I should add a potato, which I had originally intended to be in the pie, but realized I didn't have any. After sitting down and eating though, it was plenty filling without the potato, and the smokey flavor the chicken added was awesome. I love a hearty recipe and this one hits the mark. I hope you get a chance to try it out.

Saturday, March 3, 2012

Smoke a Spatchcock Chicken

Hey "Q" fans! I'm really excited about this one. With this post, I will have done my first item on the smoker I got for Christmas, my first brine and my first spatchcock. I'm quite pleased with the way everything came out and hope you will be too.

Ok, to start, you'll need to get yourself a fresh whole chicken. I got one that was just over 6 lbs. You can get this from any local grocery store. To brine it, you'll need the following items:

1 - 2 gallon zip bag
1 gallon water
3/4 cup kosher salt
3/4 cup sugar
1 T cumin
1 T black pepper
1 T granulated garlic

I read a lot about brines before I started this and I noticed that there was a good mix of people who use a cold brine and those who heat it up, then let it cool. I just opted for a cold brine. Mix all the brine ingredients together in a large pot and stir until the salt and sugar have dissolved (they dissolve faster in the hot brine, but then you have to wait for it to cool) . Put the chicken in your zip bag and pour the brine over the chicken. Seal the bag and place in the refrigerator for about 6 hours.

After about 6 hours, remove the chicken from the bag, rinse thoroughly and pat dry. Now is the time to get your cutting board and a SHARP knife so you can spatchcock (butterfly/remove the backbone) the chicken and lay it flat. This is a technique I was fortunate enough to learn from a bbq techniques class I took a few weeks ago. I'm not going to try to teach it, but I found it fairly simple.

Once you have the backbone removed, you can either toss it, or freeze it for the next time you want to make stock. Place the chicken flat on your pan and give it a press. With a little bit of pressure, the breast bone will break and help the chicken lay flat. If you feel up to it, you could remove the breastbone, but the pressure method worked fine.

I want to give some props to the guys from 3 Eyz BBQ. They taught the bbq class and I learned a lot. Along with the spatchcock technique they taught us, I also used their technique for applying rub with this cook...and have to say it worked well. Basically, you use a thin layer of mustard over the chicken and sprinkle on the rub. It helps keep the surface tacky but doesn't add flavor.

I put on the mustard and then sprinkled the chicken with a good layer of Draper's A.P. Rub. I really like the flavors that Shane has created in his rub and sauce. I let the rub sit for a few minutes while the smoker was getting to temperature.

Once the heat was where I wanted it and the wood started smoking, I put the chicken on the top grate and closed the lid. You'll want to have a good thermometer for this. It's really best to go by temperature and not "so long per pound". 165 degrees in the breast or 180 in the thigh and you're good to go. After an hour or so, I checked the temperature. It was progressing nicely. It took almost 3 hours till we hit the temperature mark.

When the temperature was reasonably close to 165, I put some Draper's Smokin' Sauce on the right half and gave it a second basting a few minutes later. Once it hit 165 in the breast/180 in the thigh, I pulled the chicken off and put it on a pan to rest.

After finishing the side dishes I cut the chicken into parts and plated it up. The wife and kids loved it and I can't wait for my next adventure with my smoker. The flavor of the chicken was amazing! It was incredibly moist and tender. I had a great time cooking this and will definitely be smoking a lot more items soon.

Stay tuned for more good things to come.